Histogram Maker
Instructions : The following graphical tool creates a histogram based on the data you provide in the boxes below. All you have to do is type your data and also the number of bins (typically between 4 and 10). The tool will construct a histogram for you, corresponding to the data you entered.
You can type or paste your data from Excel. If you need more rows, click on the button below.
More About Histograms
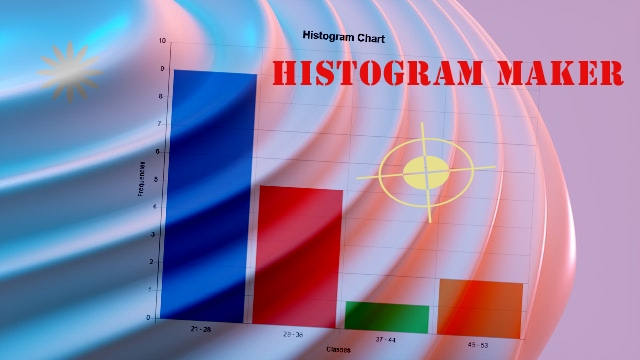
What is a histogram? A histogram is a specific type of bar char that takes data from a scale variable, uses groups to categorize possible ranges of values, and it provides the frequency of values in the range, for data set passed.
A histogram is an excellent visual tool to get a first glance perspective of the distribution properties of a random variable (especially if the same size of data collected is sufficiently large).
There are variations that can be used for drawing a histogram. Sometimes the y-axis represents frequencies, and other times it represents relative frequencies (percentages), but regardless of the option, the shape will the same (provided that the same bins are used for the X-axis).
Also, many software packages like SPSS or Minitab will be able to fit known distribution on top of a histogram to see how well the shape of the distribution fits the shape of the expected distribution.
Using the Histogram of Assess the distribution of the underlying variable
Constructing a histogram, among other things, allows you to get a quick glance of the shape of the distribution we are dealing with. When the histogram has a bell-shape type of shape, we suspect that the distribution may be normal.
Assessing normality from the histogram itself could be tricky. It is much better to use a normality test, like this Anderson-Darling test calculator .
How to create a histogram
Creating a proper histogram is not complicated, but it requires for you to follow a series of steps in order to do it correctly, in order to get a suitable frequency table .
- Step 1: Get your data/sample and clean up any errors or non-numeric entries. At this point it could make the calculation easier if you sort the data in ascending order
- Step 2: You need to decide on how many intervals/bins you will you use. Sometimes you will be told to use a specific given number, and some other times you will be able to decide. A good rule of thumb is to choose between 5 - 15 bins
- Step 3: Now, you need to find the maximum and minimum of you sample data and calculate the range of the sample data
- Step 4: Dividing the range by the number of bins you get the minimum width to use based on this settings. Typically you will maybe choose a slightly larger than the minimum width for numeric simplicity. Ex. If the minimum width is 3.099988, you probably will want to choose 3.1, for simplicity.
- Step 5: Once you have calculated the width you need, you will construct the bins, this is, you need to explicitly define the limits of the bins. Notice that the bins cannot overlap, so be careful when defining the bin limits
- Step 6: Now it is the easier part: once the bins are defined, all you have left to do is to count the number of elements in your sample data that belong to each bin
Other graph makers of interest
This histogram maker is only one graph maker we have available in our site. Other graph makers available in our site are our Pareto chart maker , scatterplot maker , bar char maker or pie chart maker .
The histogram is mostly used to assess distributional properties of sample data, this is, to say something about the shape of the population from which a sample was drawn. Another to do so is by using quartiles which can be used to construct a box-plot , which serves the same or similar objective as the histogram.


